Squeeze-out is one of the easiest visual checks you get during lamination. It does not tell you everything, but the pattern around the perimeter can tell you whether your glue application and compression are behaving consistently.
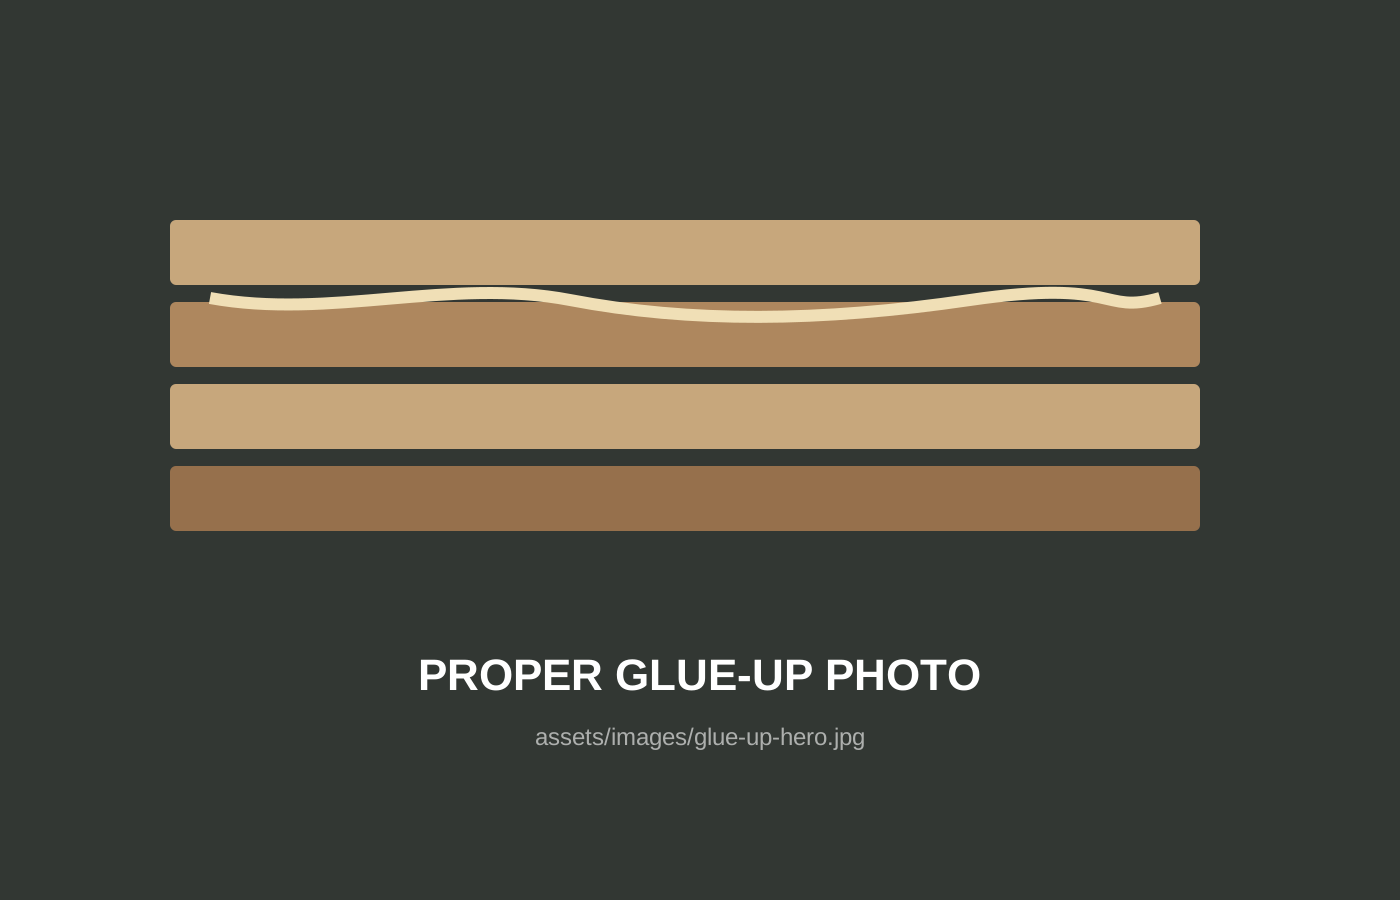
Too little
A nearly dry perimeter can be a warning sign when it appears alongside incomplete coverage, dry glue lines or weak bonding. Do not judge a deck from one tiny section — look for consistency around the stack.
What I want to see
A controlled, consistent amount of squeeze-out around the laminate is reassuring because it shows the glue line had enough material to wet the surfaces as the mold closed.
Too much
More is not automatically stronger. Excessive adhesive can waste material, create cleanup problems and make it harder to see whether your spreading process is actually consistent.
Compare the whole stack
Photograph both sides and both ends. If one area is dry while another is flooding, investigate coverage, alignment, veneer width and how the mold is closing before simply adding more glue.
What to document in your own build
Take wide photos of the setup and close-ups of the details. Record the veneer, adhesive, timing, mold and anything you changed. Good notes turn one successful deck into a process you can repeat.